

Image from the post-apocalyptic research institute
So. A bit of Christmas (or whatever you chosen end of year festivity) fun. Minecraft. If you’ve got kids, you’re probably familiar with it, and if you’re familiar with it then you’re probably aware that it’s THE thing that the kids are playing in recent times.
If you’re not familiar with it, it’s a combination of a construction game, where the player mines for resources, combines these resources to build items to subsequently build other items.
I’m talking from raw basic materials. Coal, wood and iron ore gives you a forge. The forge gives you steel to build armour and weapons. And those weapons are used to fight zombies. Or something.
It also made its creator more money than God (well, enough to beat Beyonce in a bidding war on a rather fancy pad).
In addition, it’s all done in an environment that’s… shall we say “low resolution”. It’s all bricks and blocks. Like Lego, like the arcade games of our youth.
This is not the super fancy graphics that get shown on the TV and for someone that’s rapidly approaching 40, it looks like crap – particularly when you’ve spent your working life dealing with high-end, advanced visualisation systems.
Minecraft is also a curiously collaborative game. Kids connect with their friends and build things together. Observing my kids playing it is a curious process.
Considering the whole ‘zombie thing’, it often gets passed over in favour of building things. Whether that’s houses, digging out mines or generally doing strange and odd things with horses and zebras.
With a 10 and an 8 year old in the house, I’ve had ample opportunity to watch this whole thing play out in recent times. I’d also seen examples of folks that had taken their kids (or indeed, I suspect), their own Minecraft creations and 3D printing them.
ShapeWays got in on the action pretty early and saw that there was potential there for it to use its colour-based 3D print capability to realise creations in full 3D.
Having access to a couple of bits of 3D print technology at the moment, I figured I’d give it a go for myself and see if I could print something that my lad, Jack, had built.
So where to begin?
The simple answer is that you need to have a little understanding of how the system works, download a utility and export the data for printing.
Simple as that – but with a few tips and tricks to make sure that when you’re running the print job at work, you can do it as efficiently as possible and not get rumbled by the boss.
Let’s start with Minecraft itself.
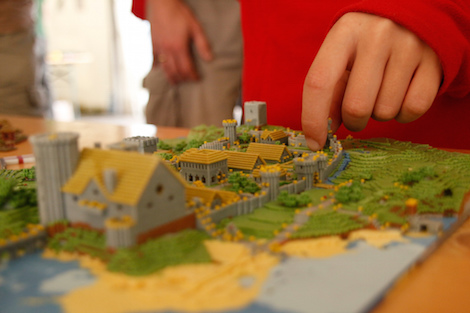
All of the creations are stored in what’s referred to as a World map. This is where the user creates everything, usually based on a randomised set of terrain geometry.
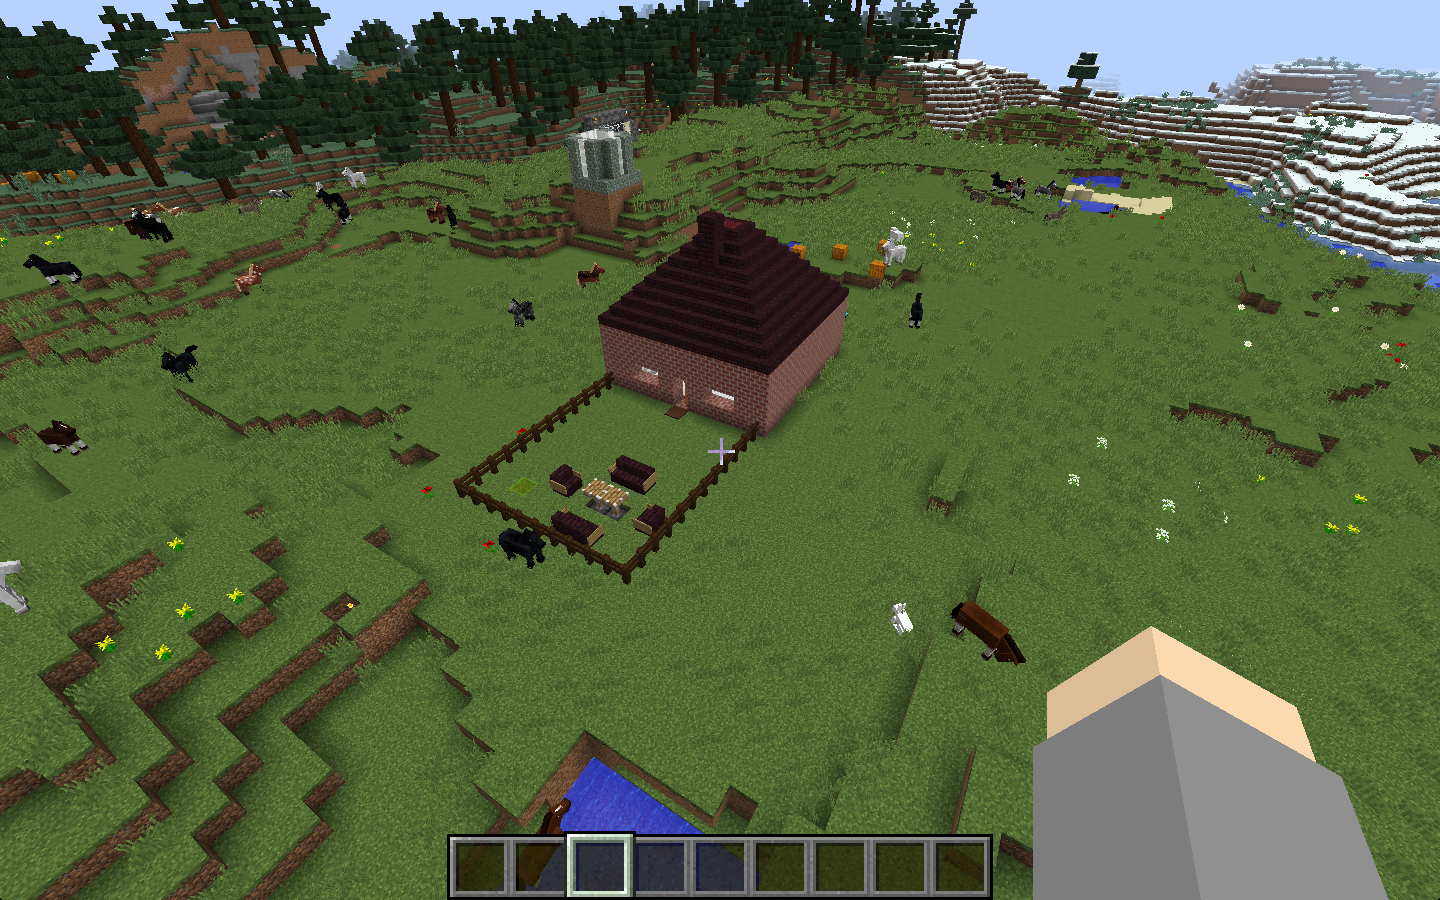
From there, they can start to build with the blocks, create whatever it is that they want. I gave Jack the job of building up a house, which he happily did.

Once it’s ready and you want to get busy, you then need to download an application called Mineways. It’s free, it’s open source and it’s delightfully simple. It’s available for both the PC and the Mac, here: www.realtimerendering.com/erich/minecraft/public/mineways/
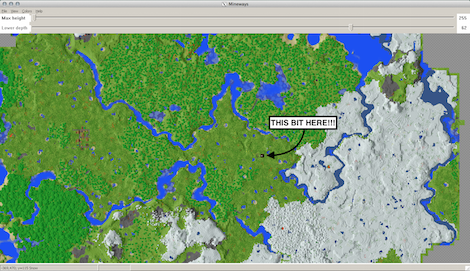
You’ll need it on the same machine as your Minecraft installation or transfer over the ‘world’ folder (they’re usually found in the Minecraft directory, in the ‘saves’ folder – which varies depending on your platform). In Mineways, it’s really just a case of opening up the world file (usually, that’s the level.dat file in the root of the folder) and hey presto, you’ve got a top down view of your creation.
Initially, these typically look a little confusing. If you’ve got a large structure, then it’s usually easy to spot. If not, you’ll be trying to find a small house in a couple of hectares of digital forest. Once you’ve located it, you then select the portion that you want to print. This is done by holding down the right mouse button and dragging a rectangle around the structure.
Remember, Minecraft is made up of small blocks. It’s also possible to mine underneath the surface of your model (and we’ll get onto that shortly).
Then you export. you have a number of options here, in terms of what you want to do with it.
There’s an OBJ output (seriously, through this into KeyShot and you can do some interesting things), there’s a VRML output (useful if you have a colour 3D printer to had or want to order it form a service provider) or there’s the old school STL route.
As I’ve got a couple of monochromatic 3D printers at the moment, this is the one we’re going to run with – so the Export for 3D Printing menu selection is the one for us.
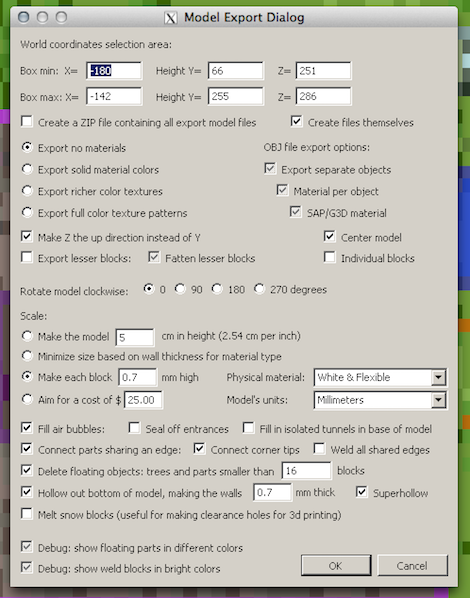
You’re then presented with this beast of a dialog box. There’s all manner of options in here. Whether you want the blocks individually represented in the STL, how you want blocks to be treated, scaled and such. It’s worth having a play with these as there’s some interesting things that can be done. But if you want to try it quickly, select the defaults and run with it.
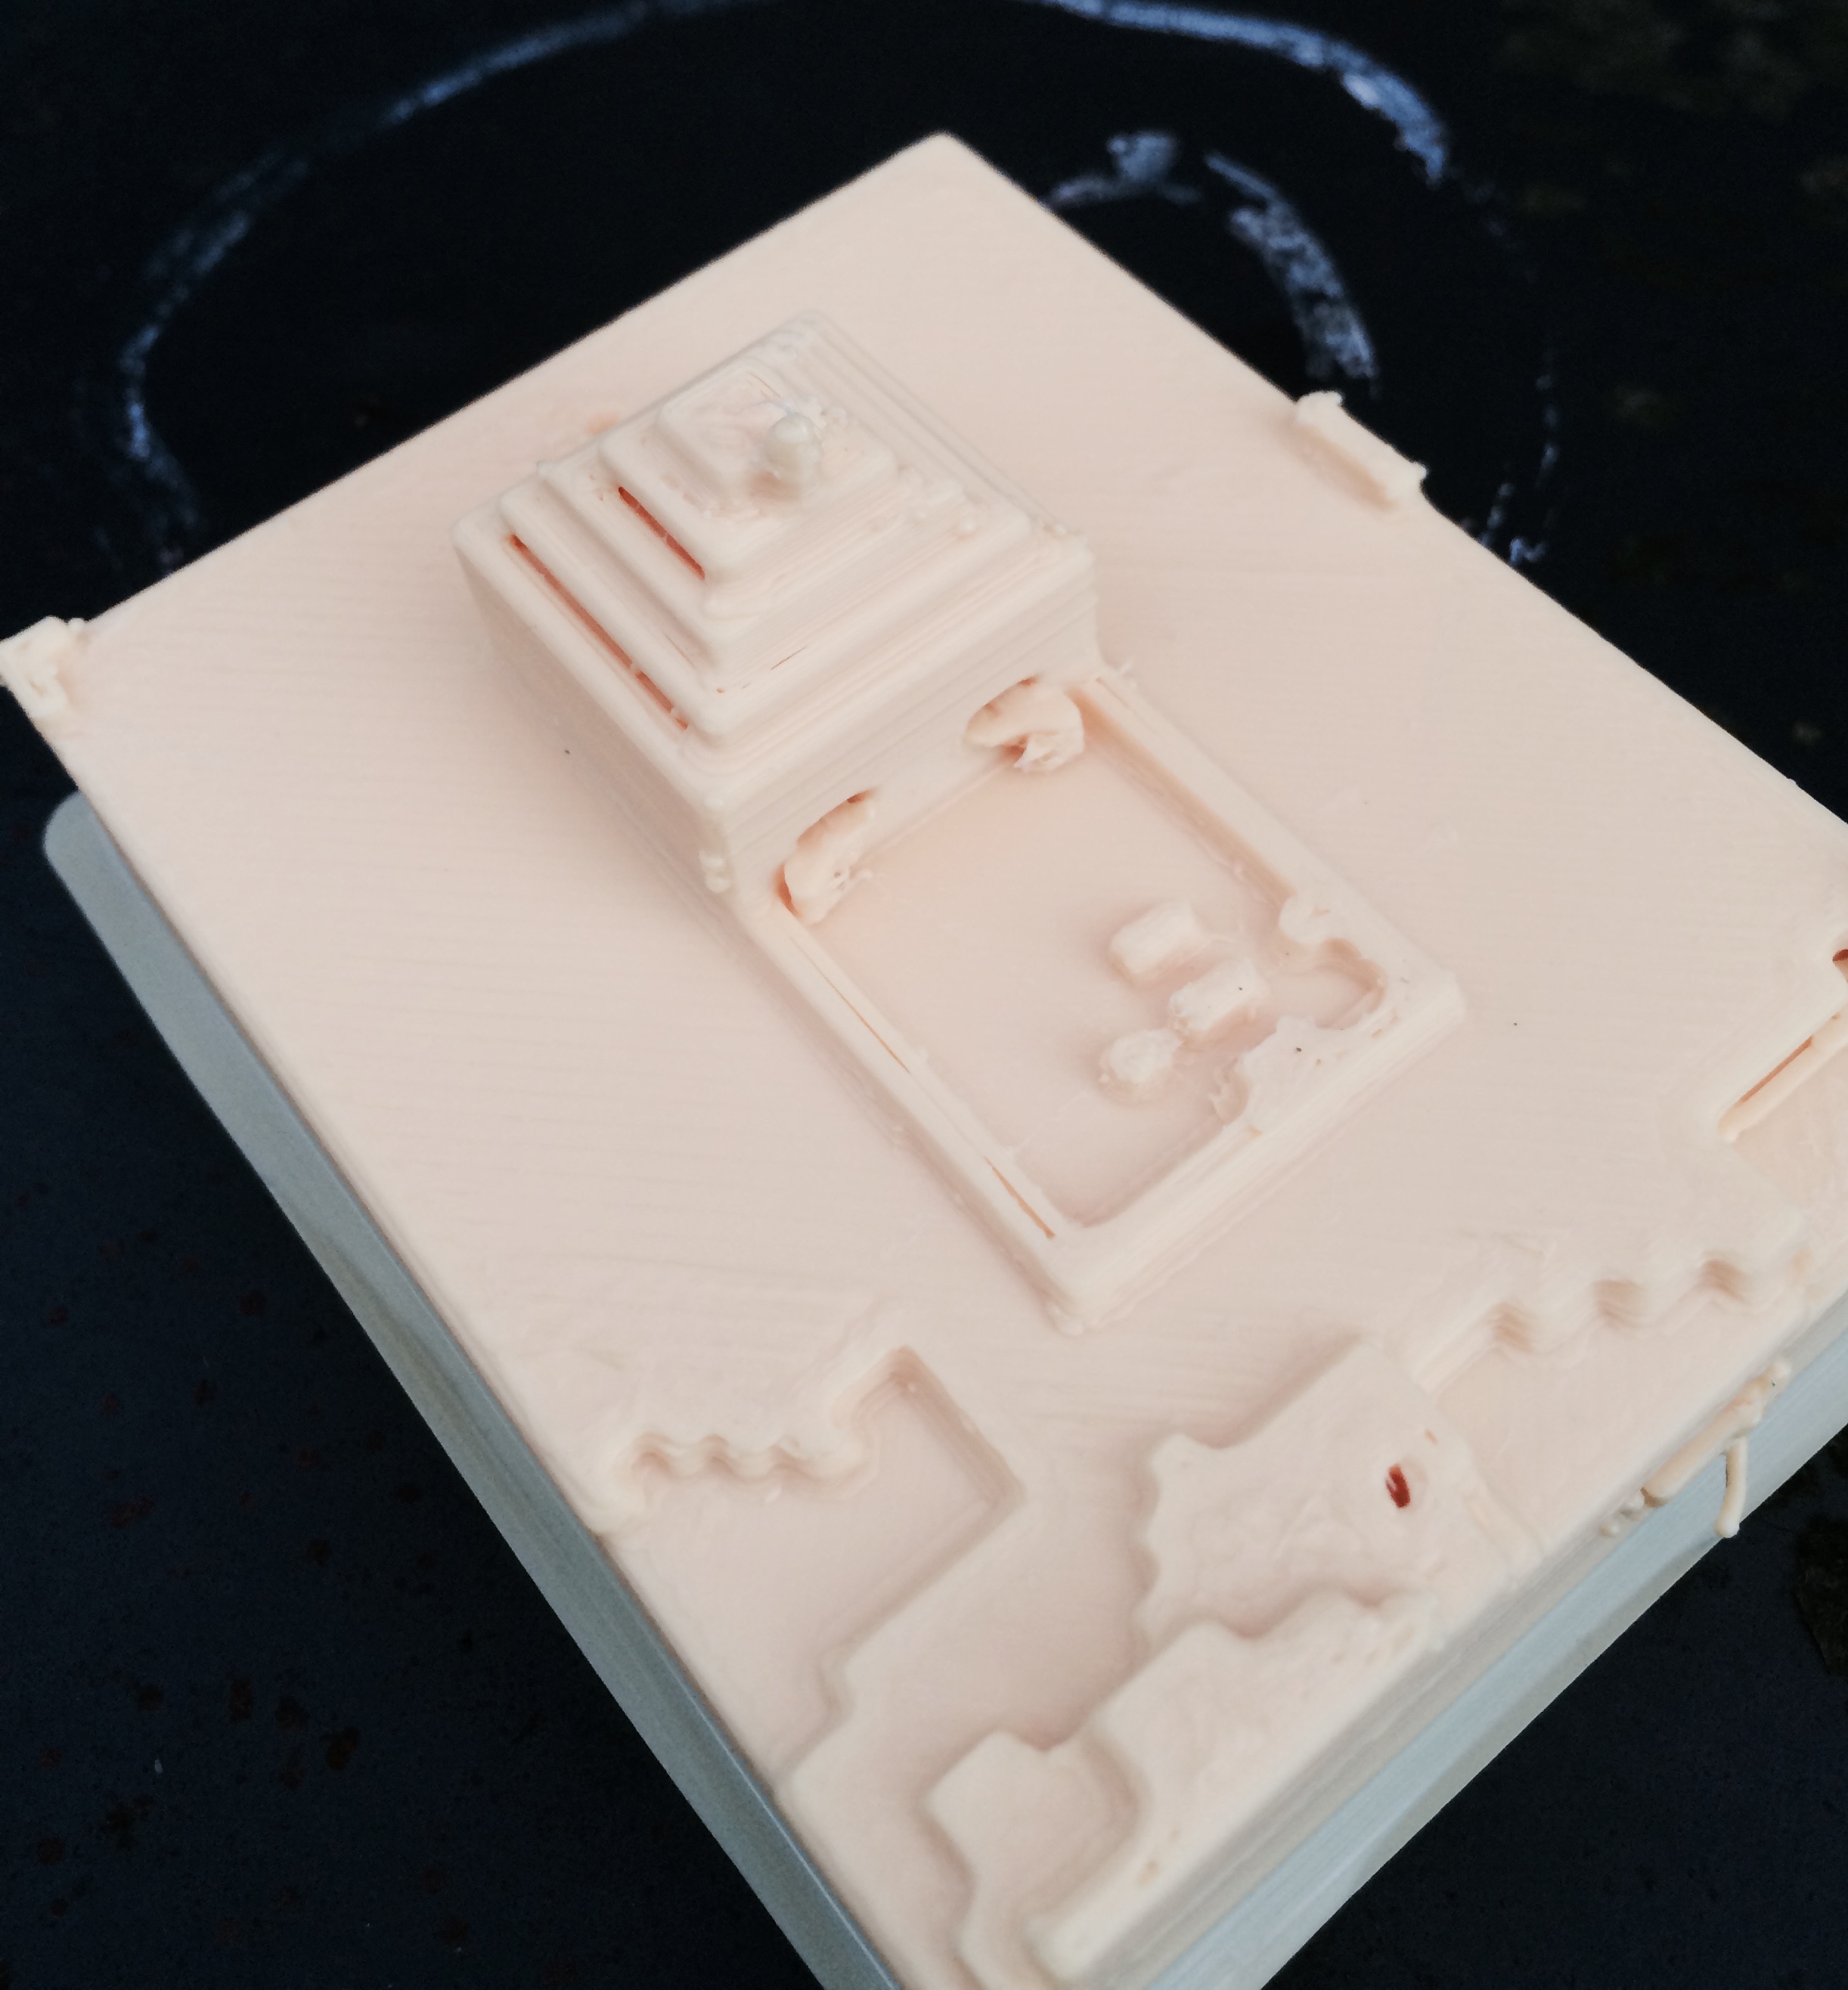
You’ll then end up with an STL file of your selected terrain and constructions. Load this into your 3d printer and away you go! Give it a little while and you’ve got a representation of what’s been built in glorious 3D.
The test print turned out OK, but was only built using the draft (quick, rough and ready) settings for CEL’s Robox 3D printer last night. Still, put that in the hands of a Minecraft fan, over night and you can watch their minds explode with the potential. Particularly if they’re ten years old.

Some tips and tricks
#1: Bloody Tunnels:
The clue is in the name: Minecraft. When you export the data, chances are that you’ll end up with not only what’s on top of the terrain, but also any tunnels dug underneath (these are also in the game by default as well).
If you’re 3D printing the worlds then these can be a royal pain in the arse. Grab hold of Meshmixer from Autodesk (it’s free), block out those tunnels and you’ll end up with a much nicer print).
#2: Transparency and fancy blocks:
These can cause issues. The game can use transparency for windows, for trees, for smoke and water.
When you export these, you’ll end up with a block. A solid block. So if you and your little ones have spent time putting glass into windows or building out a water feature, remember that these will build as solid.
That might be what you want. Chances are it won’t. So take them out before you export the model.
#3: Scale it: Minecraft builds at odd sizes, but the Mineways software gives you control over how a block size is exported to the real world. You’ll probably end up with something quite small, so be prepared to scale it as necessary.
So. I think we’ll be doing a lot more of this over the next few days while the kids are off.
What I found very quickly this morning, in that mad panic before school, was that showing a little one something like this gets them thinking.
He already knew the principles of how these machines work, but when you present something that they’ve designed and built themselves, it’s a completely different engagement.
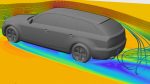
He started asking questions about how the tunnels were supported in the car, asked if he could do another one, realising that the smaller features don’t replicate well. And then ran off into school, with a smaller yellow block of ABS in his pocket to show his friends.
Oh. Last tip.
#4 Don’t let other parents know you can do this type of thing.


