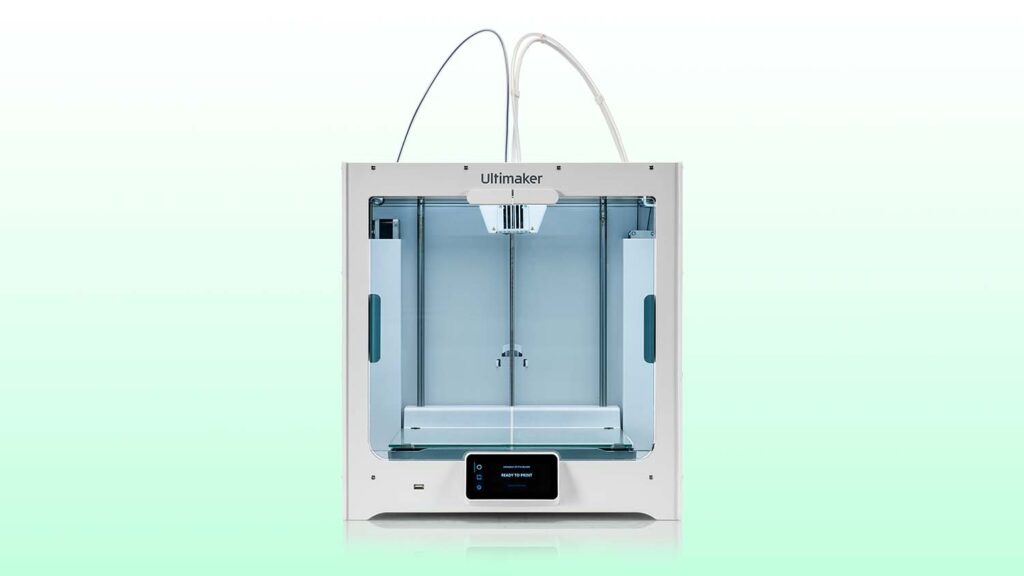
We spend some time with the Ultimaker S5 3D printer – where, after successfully addressing the professional desktop 3D printing market with the Ultimaker 3, the Dutch masters have returned with a new beast
The Ultimaker brand was built on affordable machines that started off in the hobbyist end of the 3D printing market. But through pervasive marketing, rock solid branding and some impressive engineering and design, it is now a popular choice among cost conscious professionals.
When we last looked at an Ultimaker product, it was the Ultimaker 3 Extended – which represented a natural evolution of the company’s products.
It was light years ahead of previous models, featuring more intelligent set-up, more sensing and better connectivity. The offering of both the standard and extended versions (greater build in the vertical Z direction) made huge sense for those looking for larger part builds.
So it was with some surprise when the company came along with the Ultimaker S5, only a year or so after the Ultimaker 3 launch. While it is built on the same chassis design as the third generation products, this is a beast of a machine in comparison. The build platform is now 330 x 240mm, compared to the 215 x 215mm of the third gen – and of course, Z direction is larger too (300mm compared to 200 or 300 for the extended version), but the platform size is only one of the fundamental benefits of the S5.
FDM machines found a home in the production of supporting components many years ago – jigs, fixtures, and other supportive devices that help out in other operations. They aren’t glamorous, they aren’t sexy, but they are both vital to engineering processes and in big demand. By enlarging the platform size, Ultimaker is making the statement that its machines are ready for serial production of components.
So what else does the Ultimaker S5 have in store?
Getting up and running with the Ultimaker S5
The packaging for the S5 is pretty much as you would expect. It arrives all in a single box that’s going to take a bit of shifting if you’re on your own (or you’ve got to get it up some stairs, as we did). That said, everything is well thought out and explained clearly in the included information sheets.
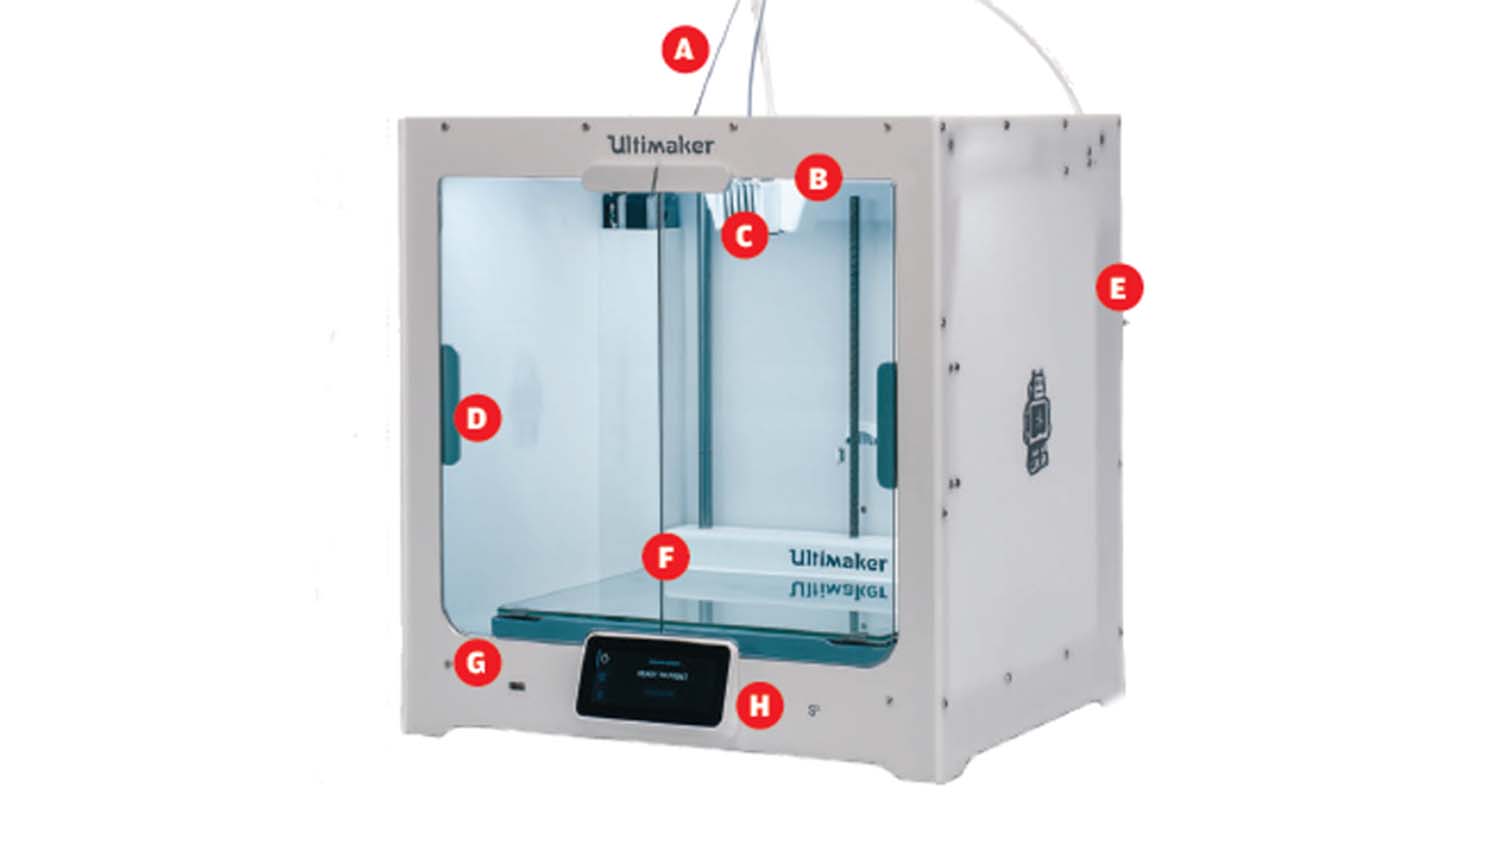
You’ll need a decent sized workspace for the S5. It’s bigger than previous models and with the two spools of material loading at the rear of the unit, you’ll need enough bench space to be able to rotate the unit, if you can’t get at them during change over.
When all is said and done, set-up takes all of ten minutes, with the bulk of that being the set-up on wireless connection. Once you’ve got that up and running, you’ll need to get Ultimaker’s Cura software installed on your machines, if you don’t have it already.
If you’re in an environment where WiFi isn’t available, the good news is that the machine comes with a standard ethernet port on the rear as well as a USB port for a memory stick for those that prefer a more manual approach (there’s a 16GB stick supplied with the machine). Once you have connected this to your machine, you’re about ready to crack on.
It’s during this process that you’ll start to interact with one of the big upgrades for the S5. While previous models have relied on a click dial and a basic LCD control, the S5 gets a nice upgrade to a 4.7 inch touch display. This gives you access to not only the machine’s options and maintenance controls, but also material handling (change, load etc.), part loading and print control, including a very handy preview of each build (really useful if you’re using the USB load option).
To get building, it’s a very familiar process to anyone that’s run one of these types of machines before with the first step being, of course, adding in your part geometry.
While STL is still the most widely used, Ultimaker has added a few additional options. If your CAD system supports it, the 3mf format is useful, but perhaps even more useful is the ability to connect directly to the likes of Solidworks, Fusion 360 and Solid Edge.
Each of those have direct integrations to Cura so your data transfer should be pretty seamless. We tried it out with Fusion 360 from within the ‘Save STL” dialog, where you’re given the ability to transfer your data directly to Cura.
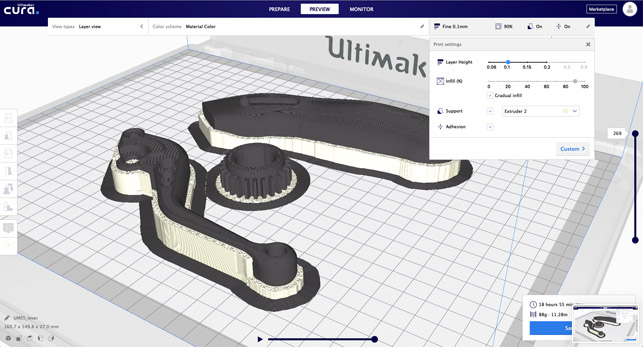
Set-up of your print job is pretty painless. Position your parts, choose your resolution, how much your want to in-fill the model and, finally, ensure that your material set-up matches your machine (it’ll pull this from the printer if connected) and away you go.
If you want to dive into the options for builds, there’s plenty to go at. One of the beauties of Cura is that almost all of the options are exposed for you to tinker with. While this might not be for everyone, it does mean that you’re able to fine tune your options, explore other options for in-fill and wall parameters and much much more.
One of the features I’m a big fan of for the latest Cura release is gradual in-fill – this reduces the amount of in-fill as the form of your model dictates. Where areas are larger, the in-fill is more sparse — saving you both material and build time.
Another big update for this release builds on the work done for the third generation machines, where network monitoring is done with an on board camera and from Cura.
Using a smart phone app, it’s now possible to both monitor your build as well as receive notifications about the status of completion, if there’s an issue.
Ultimaker S5 Material options
One of the benefits that we’ve seen from the opening up of the FDM market in the last few years is that there is now a huge industry spun up around filament development. Ultimaker does, of course, provide its own range of filaments, from stalwarts like PLA and ABS.
In fact, the company recently introduced a new Tough PLA – which gives an excellent matt surface finish with a part that’s much more resilient than standard PLA). There are also more exotic filaments available from Ultimaker, whether it’s polypropylene (PP), nylon, copolyester (CPE) or thermoplastic polyurethane (TPU at 95A shore hardness).
Each of these has an internally developed set of build parameters and given the NFC tags on the spools, the setup software pretty much does all of the donkey work for you.
Alongside the Ultimaker materials, there are a wide range of third-party materials available. In recent years, Ultimaker has also been building relationships with other vendors and has now made similar build profiles available through the Cura Marketplace.
 Enjoying this? Read our other Pro Desktop 3D Printer reviews here:
- Formlabs Form 3
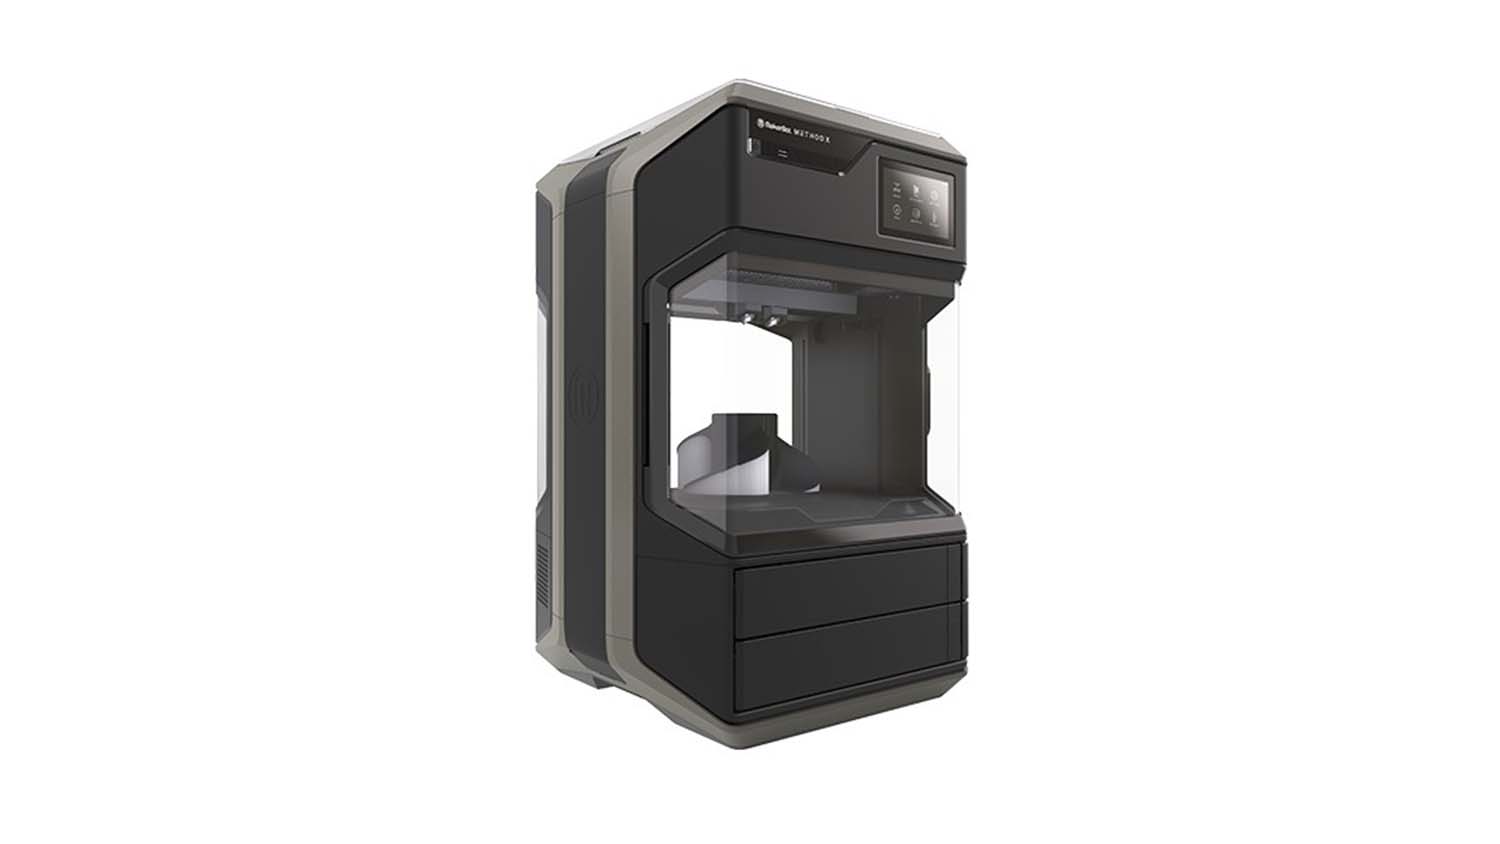
- MakerBot Method X
- Raise3D E2
- 3D Systems FabPro 1000
- Ultimaker S5
- Stratasys F123 Series
- Rize Inc. Rize One
The end results
The end results you recieve from the Ultimaker S5 are exactly as we’ve come to expect from Ultimaker’s latest products – solid, consistent and well finished. This is the benefit you get from running with a machine and materials from the same vendor. That said, if you do want to step away from proprietary materials, you have the option.
I really like the Tough PLA material – it has an excellent finish, particularly for those that are going to see a bit more abuse during the prototyping cycle. In terms of speed, the S5 is on a par with previous Ultimaker 3 machines, so we haven’t really listed out the part costs and build times (as they are roughly the same as those featured in our Ultimaker 3 Extended review, here if you want to reference it).
In terms of the large build capacity, it did bring up one question. If your build requires more than the supplied spool’s material, what happens? The answer is that the machine handles this very nicely.
It’ll detect a break in the filament and pause the build at a sensible position. If you’re on the network at the time, you get a notification and can pop to the machine to check and reload the material.
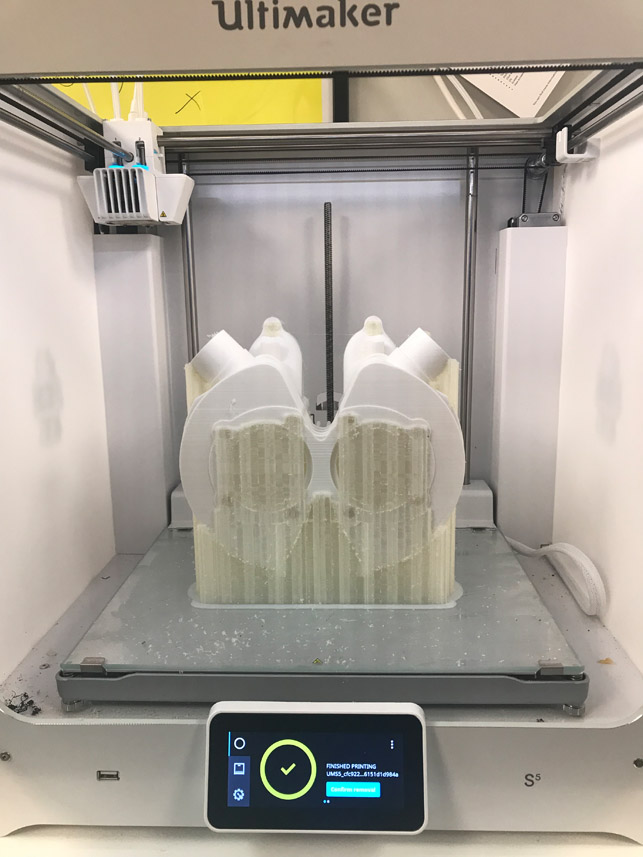
In our week long build, we encountered a break in the PLA filament (first one we’ve encountered in all these years).
The machine spotted it, paused the build and allowed us to take corrective measure — particularly useful considering we were, at that point, already four days in.
Once reloaded, the machine carried on and, in terms of the final build quality, we were not able to tell where the machine had paused.
The Ultimaker S5: In Conclusion
So what does the Ultimaker S5, at a grand more than the Ultimaker 3 Extended, offer to the user? The company claims size and reliability are the key focusses and I think this is fair. For 1,500 quid more, you have a more consistent (thanks to the glass doors that stop drafts) and larger build environment and one that’s configured to assist with series production, rather than purely larger parts.
You also have the sensing technology that spots potential errors in your build and saves you wasting time when combined with the remote notifications through the Ultimaker app.
If you take a look at the desktop FDM market, you’ll quickly see that there are a lot of options out there – from under a grand as a kit to just under 10 grand with a Stratasys F120 machine. What’s interesting is that spending more does not necessarily get you more. At mid way between these two extremes lies the Ultimaker S5.
It’s got a pro-focussed set of capabilities, supports a wide range of materials (for both build and support) and has enough freedom to tinker, tune and experiment for those that like to dive into the details. It’s also reliably built with support to match.
I’m struggling to find a negative for this machine – Ultimaker seems to have taken its winning formula for affordability, stepped it up a notch for reliability and delivered a product that’s class leading.
The only issue is finding other machines that can compete.
Ultimaker S5 – Tech-specs
» Ultimaker S5
» 2.85mm filament
» 330 x 240 x 300 mm build volume
» 495 x 585 x 780 mm machine dimensions
» 20.6 kg weight
» Down to 0.02mm layers
» Material spool, dual extruder & heated build plate
» USB key, ethernet and wifi connectivity
» On-board camera & network monitoring
» Active levelling & filament fault sensing
» 1 year return to base warranty
Desktop Filament Machines: Five Alternatives
Makerbot Method
Product: Method
Supplier: Makerbot
Build Size: 190 x 190 x 196mm
Price From: £5,999
Web: makerbot.com
Notes: Brings a lot of Stratasys’s knowledge and patents to the Makerbot brand: heated and enclosed build chamber along with dual nozzles, all of which promise high accuracy builds.
Downsides of the Makerbot Method are a small build size for the price, and limited material options to accompany the soluable support for the dual extruder.
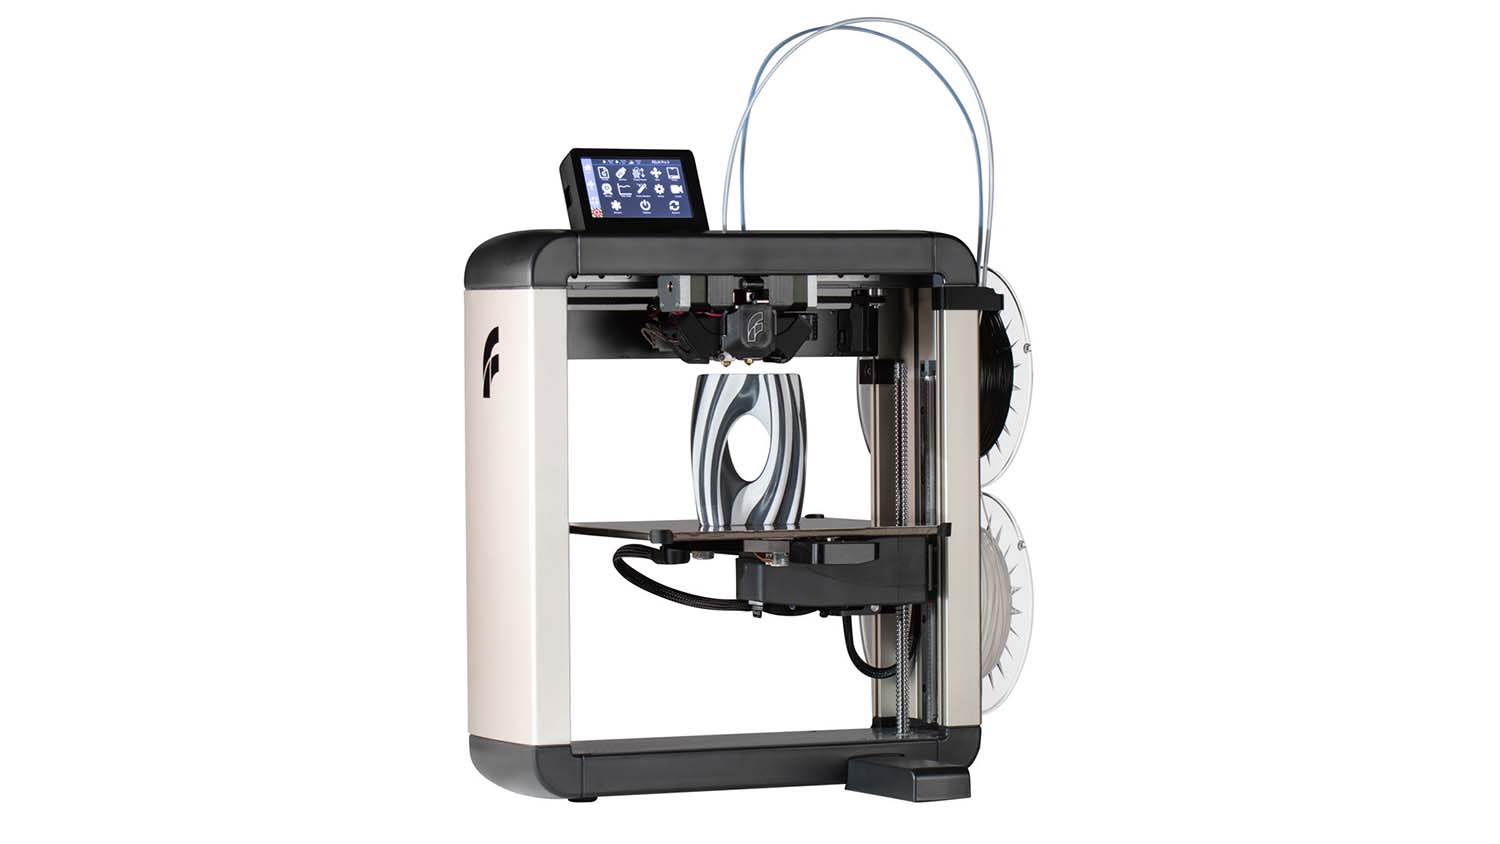
FelixPrinter
Product: Felix Pro 3
Supplier: FelixPrinter
Build Size: 237 x 244 x 235mm
Price From: £2,450
Web: felixprinters.com
Notes: Fresh from the hotbed of 3D printing that is The Netherlands, the Felix Pro 3 is handmade to order in the company’s own factory in Europe.
Designed to accept modular upgrades in the future, this should extend the lifespan of this dual-head 3D printer aimed at the professional sector.
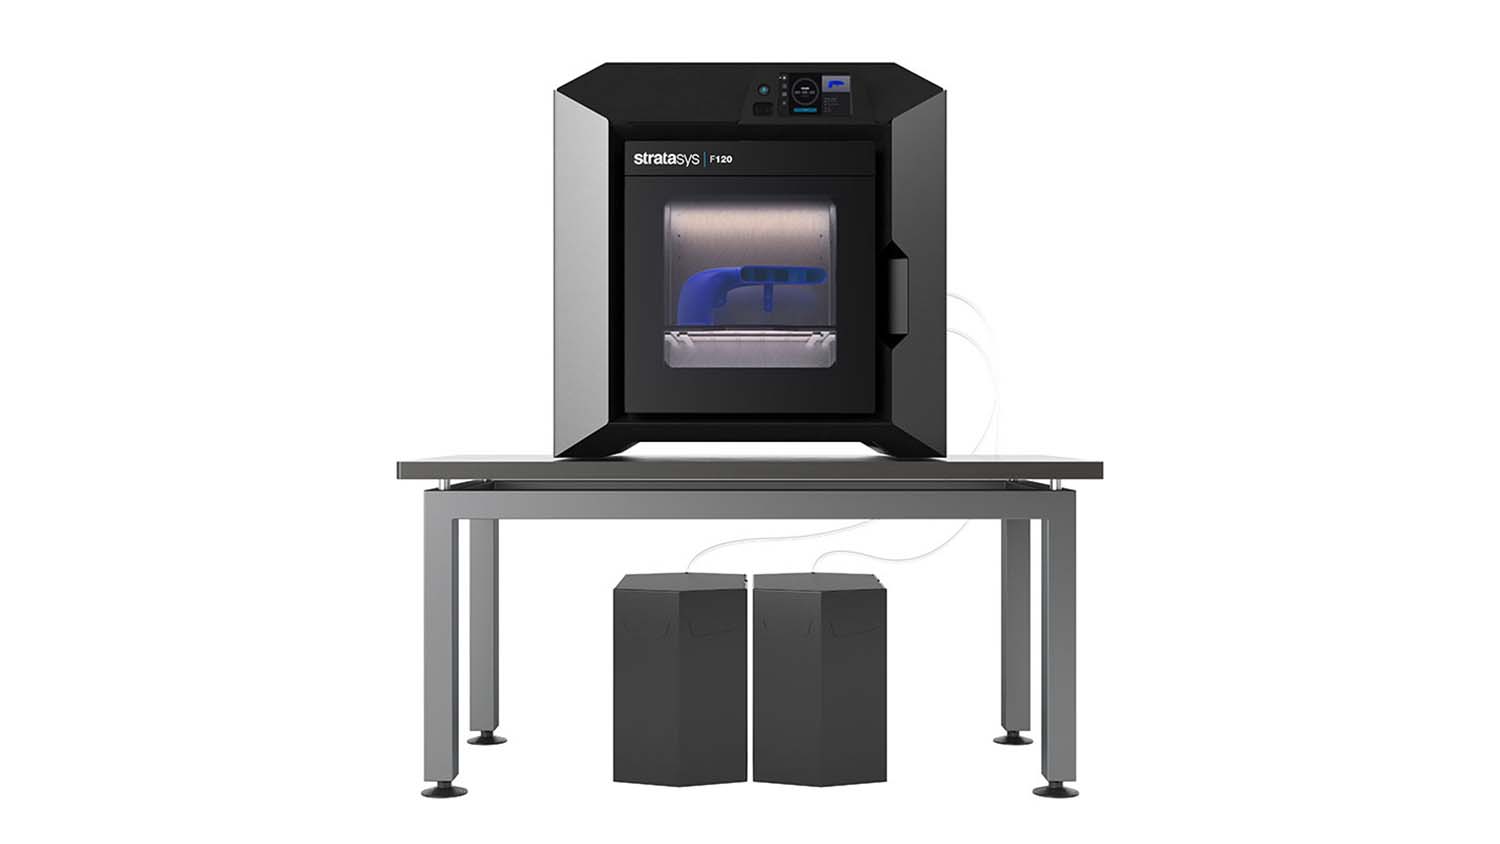
Stratasys F120
Product: F120
Supplier: Stratasys
Build Size: 254 x 254 x 254mm
Price From: £9,240
Web: stratasys.com
Notes: Significantly cheaper than the next-up F170 model, this is Stratasys’ attempting to make its FDM technology more accessible. It eschews a cabinet for remote filament containers, making it more desktop friendly.
Despite including ABS, its materials range will not include ‘production part’ filaments like the new F123 TPU material.
Read our full review of the Stratasys F123 here.
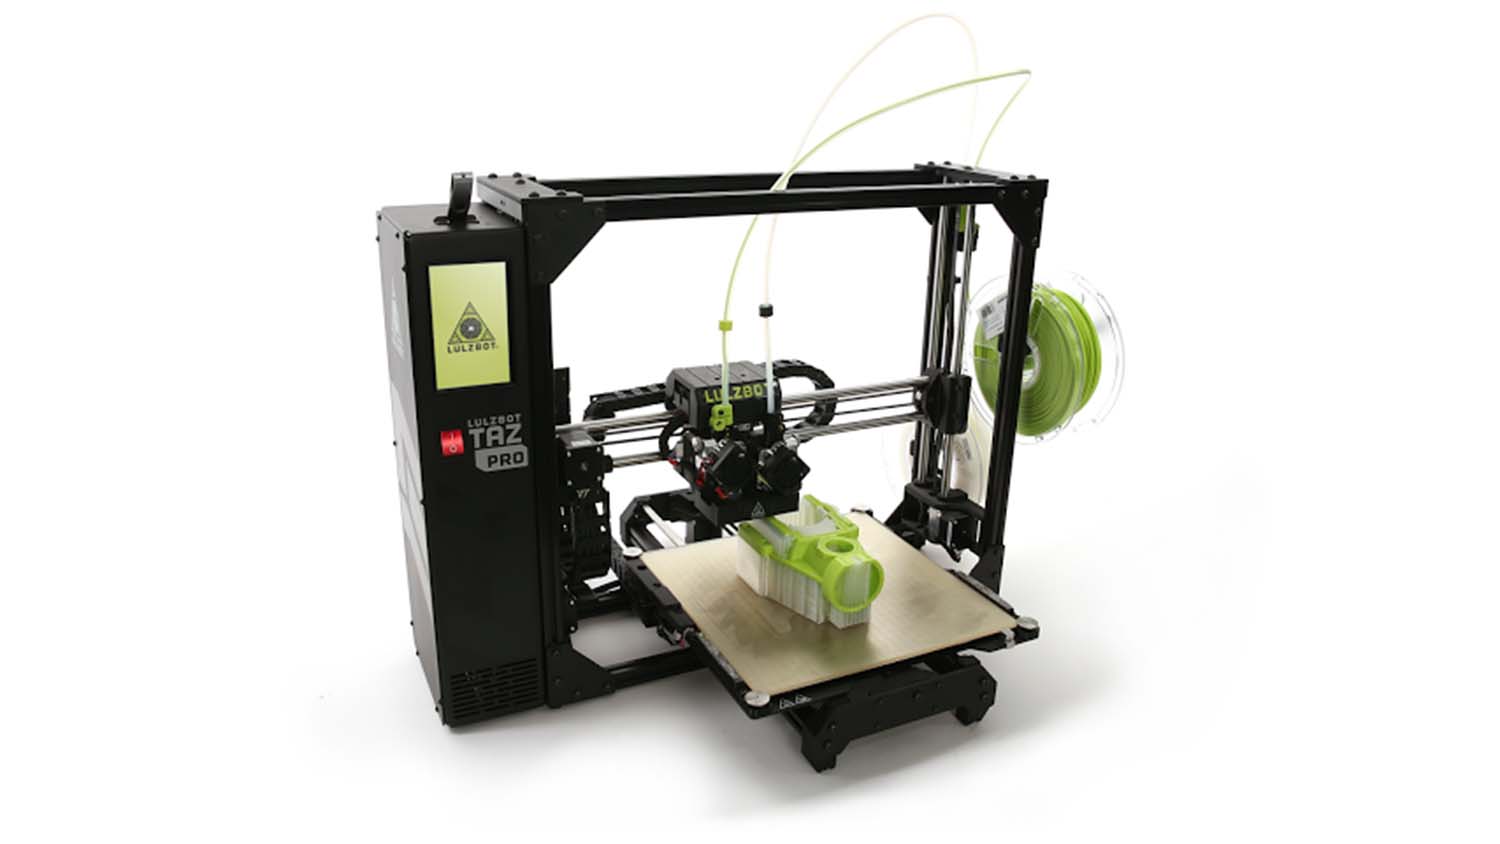
Lulzbot TAZ Pro
Product: TAZ Pro
Supplier: Lulzbot
Build Size: 280 x 280 x 285mm
Price From: $4,950 (£3,800)
Web: lulzbot.com
Notes: The first 3D printer from Colorado’s Lulzbot to wear the ‘Pro’ badge, this upgraded Taz machine packs in the features, including multi-material printing and soluble supports.
An innovative ‘calibration cube’ (found in some CNC machines) measures and compensates for X/Y/Z backlash, increasing printed part precision.
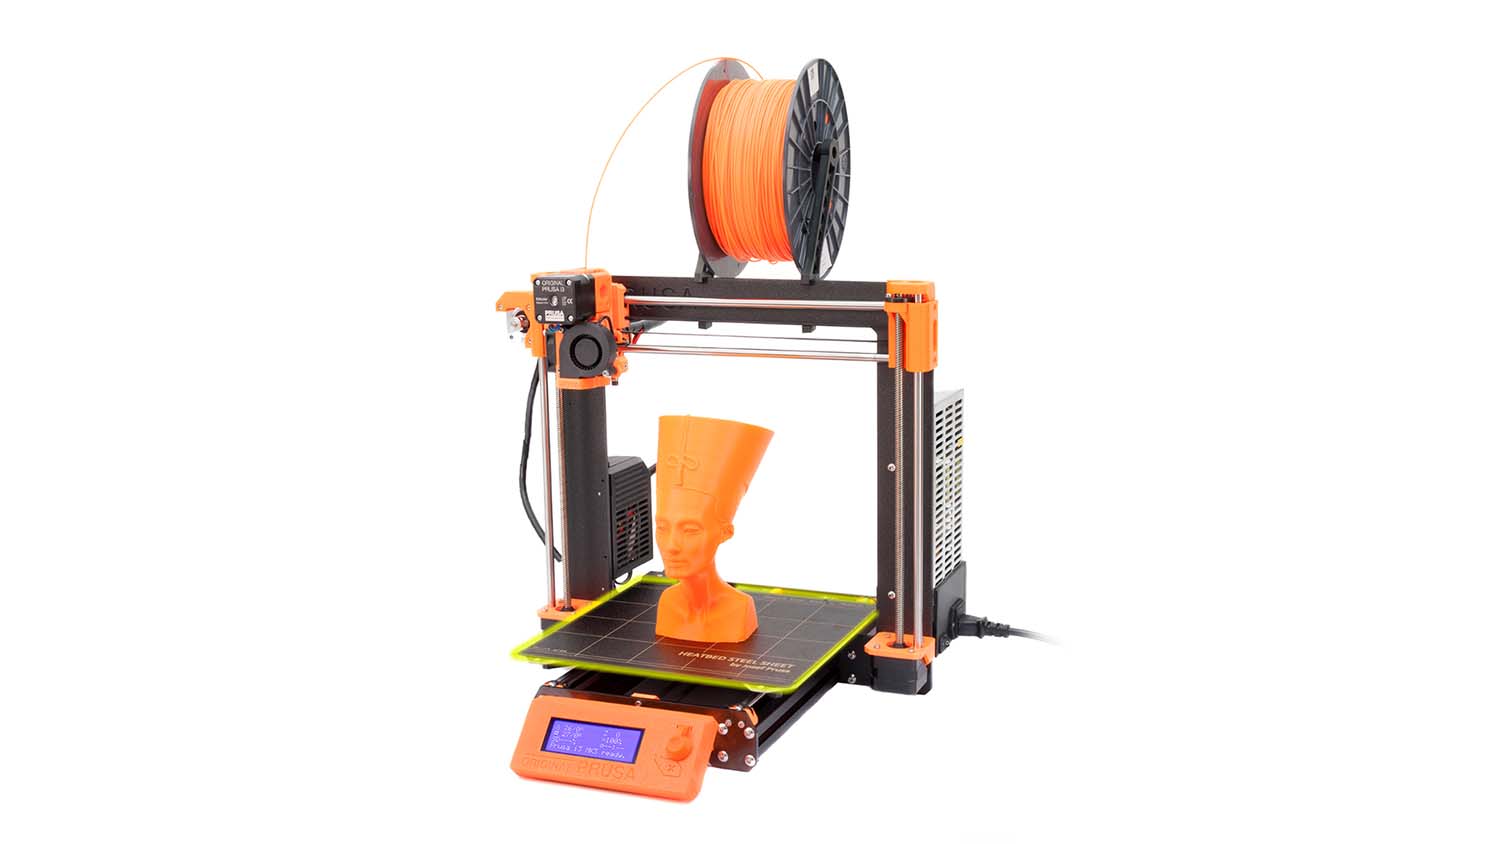
Prusa i3 MK3S
Product: i3 MK3S
Supplier: Prusa Research
Build Size: 250 x 210 x 210mm
Price From: $999 Assembled
Web: prusa3d.com
Notes: A loyal following and cheap prices have seen the Prusa brand flood YouTube maker channels.
Improvements to frame stability and standard hardware mean that it has an impressive amount of kit for a basement price.
However, print quality might take more tweaking and honing than the others straight out of the box.